
Focus Locators Using Focusing Wizard
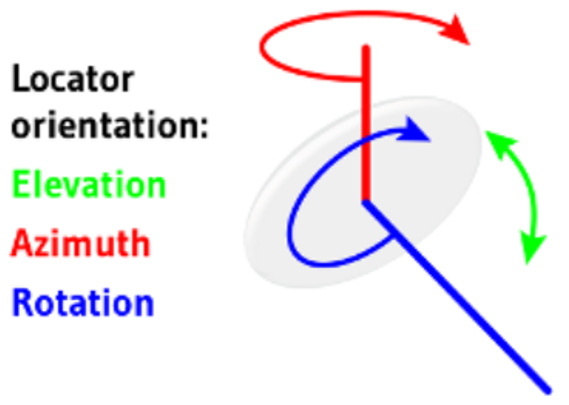
Once the Quuppa system is physically installed and the Locators have been positioned and identified in the QSP, the next step is to focus the Locators using the Focusing Wizard. This step measures the orientation of the Locators and is crucial for the system to work properly and be able to provide accurate positioning results as the Locator calculates the position of tracked items based on their own position and orientation.
Note:
Q17 Focusing Locator should be connected to a laptop
computer via an Ethernet port and a micro-usb cable. LD-6L Focusing Locator can
no longer be used with release 8.0 and above.
-
Take the first of two focusing measurements:
- Move the Focusing Locator directly to the left, right, up or down (relative to your project's background image) of the selected Locator.
- Point the Focusing Locator towards the Locator that you are focusing and follow the instruction given by the Focusing Wizard. Hold the position until the green bar in the application is full (hold long enough to make sure it is stable and holds the green colour), indicating that the measurement data is OK.
- Click the Continue button.Tip:Make sure you are close enough for good quality signal.

- Give the direction from which you were focusing the Locator by using the
arrows in the Main direction box. The red line on
the map indicates the given direction. Once you are satisfied with the
direction, click Continue.

- Move the Focusing Locator around to verify that the direction is
correct. The black line on the map should point to the direction of the
Focusing Locator.
- If the direction is correct, click Accept results and measure this Locator again at different position.
- If the direction is incorrect, click Ignore
this measurement and keep old data. Note:Remember that the information you give the system at this stage will affect the tracking accuracy later. Only accept the results and continue if the direction looks right.