
Edit Tracking Area Polygon
-
In the object tree on the left, select Tracking
areas.
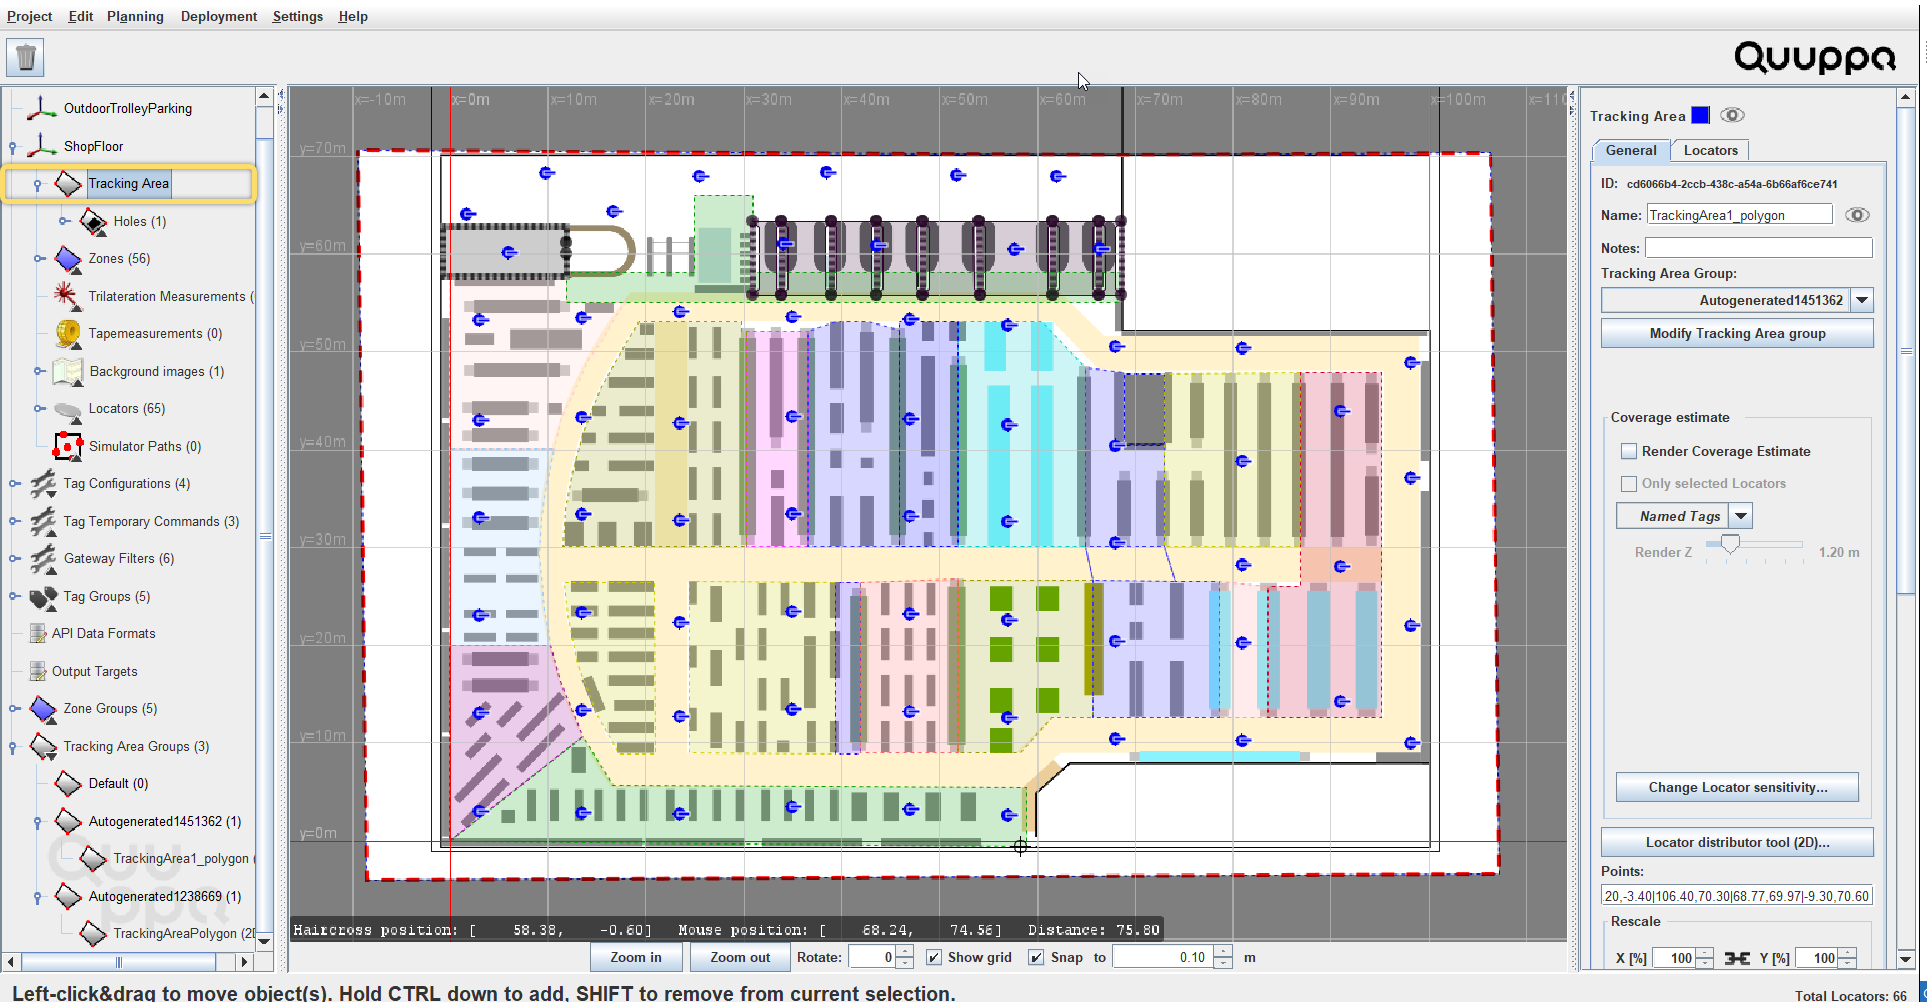
-
In the panel on the right, click the Edit polygon button.
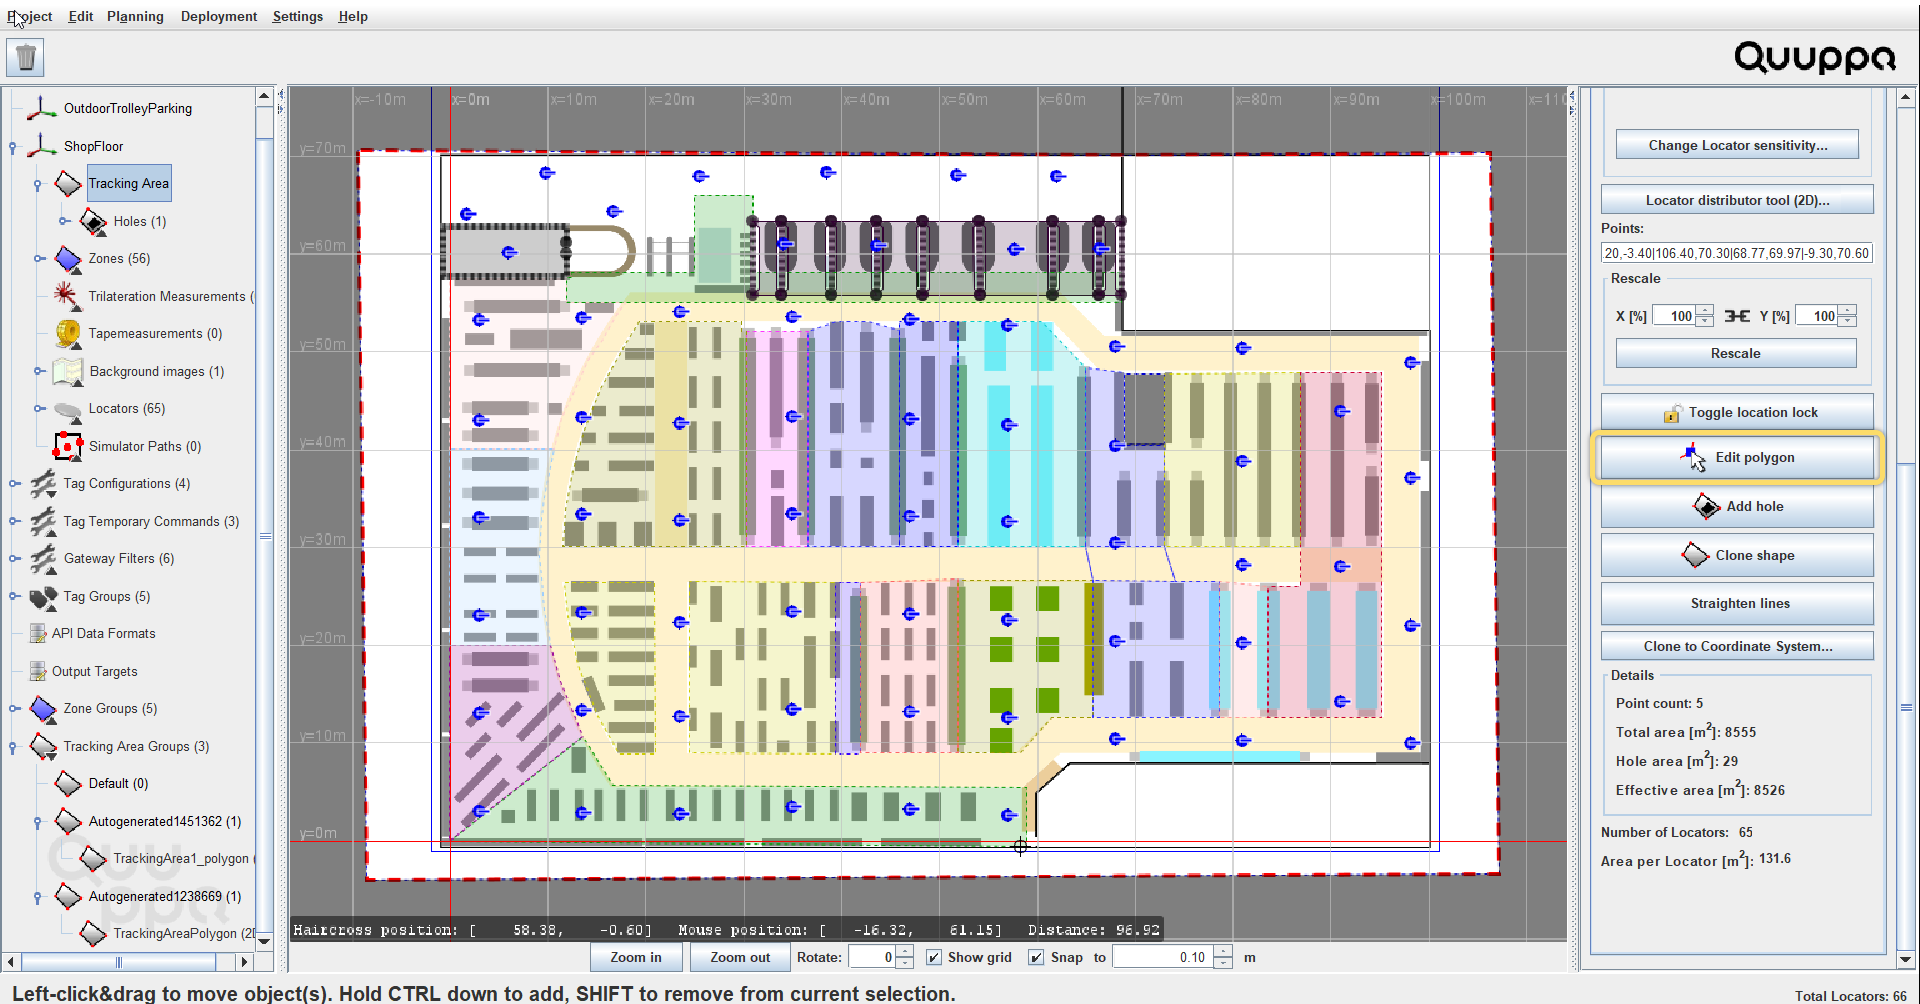
-
This will activate the polygon points in the map view. Use the polygon points
to edit the polygon to match desired areas in the background image. Here are
some tips for editing the polygon:
- To move a polygon point, click on the point and drag it to the desired location.
- To add a polygon point, click on the polygon edge and drag the
new point to the desired location.Tip:Alternatively, you can hold down Ctrl key and click on the desired location in the map view to add the new polygon point directly in the right place.
- To delete a polygon point, right-click on the polygon point that you want to delete.
- To snap the lines to make sure they are straight and at right angles from each other, along which to place the new polygon point, hold down the Shift key while adding new reference point.
- To use guidelines for perpendicular lines, hold down the ctrl + shift as you edit the polygon.
 Tip:Wherever possible, edit the tracking area polygon to match the physical limitations of the area that you want to track rather than using holes at the edges of the area to shape the tracking area.