
Edit Tracking Area Groups
Tracking Area Groups enable the editing of multiple tracking areas at the same time. This makes it easy and efficient to mange the configurations for multiple similar tracking areas in your project. For example, if you have a building with multiple floors, all of which have similar characteristics, editing the configurations for all of the tracking areas at once will be much more effective than changing the settings for every tracking area individually.
This topic will walk you through the different tracking area group configurations available in the QSP and how to edit them.
- Open the project in the QSP.
- In the object tree on the left, open the list of Tracking Area Groups.
- Click on the tracking area group that you want to edit in the object tree. This
will open the object info panel on the right.
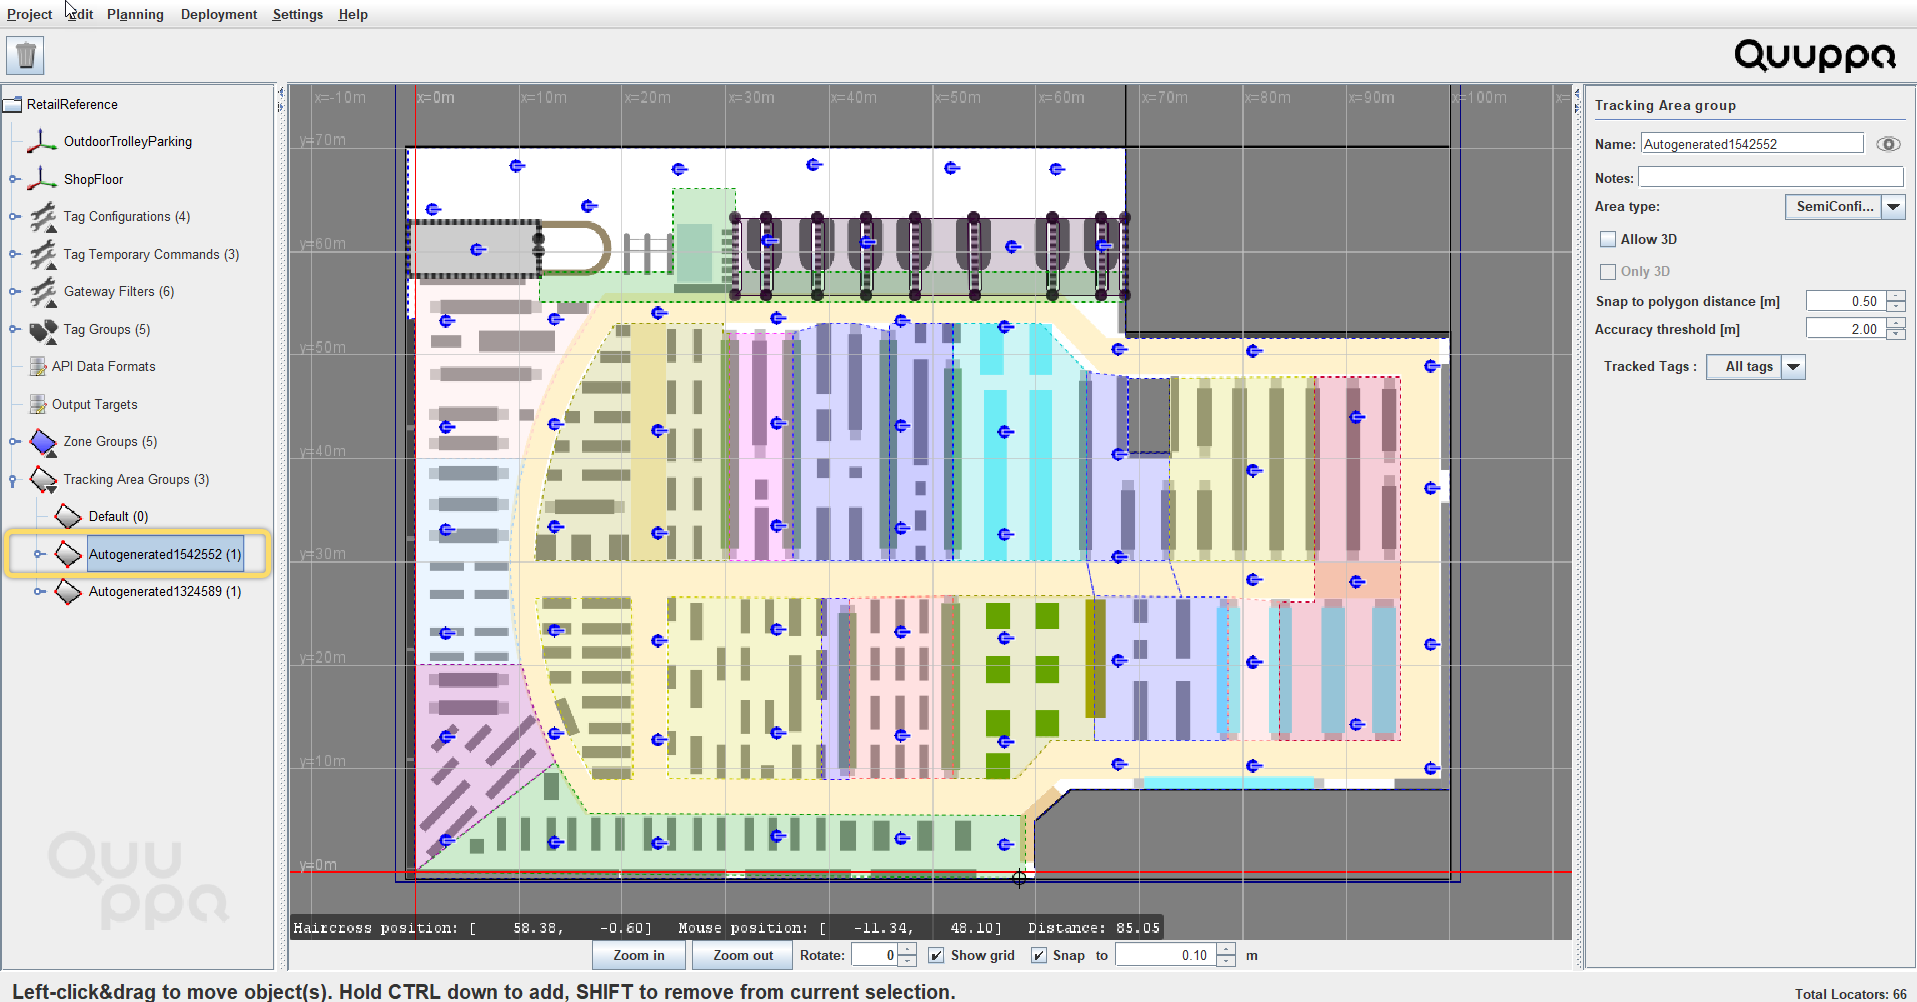 Tip:When opening a project file that was created with a QSP version that predates the tracking area groups feature, the QSP will automatically generate suitable tracking area groups for your project. Each group will contain all of the tracking areas that have similar configurations. They will be named Autogeneratedxxx, but you can change the name to something more descriptive in the object info panel.
 - Edit the settings to best suit your project:

- ID - Automatically created UUID for the tracking area group object
- Name - Give the group a descriptive name that will help you identify the group later.
- Notes - Add some notes to describe the purpose of the tracking area group.
- Area Type - Select the area type for this tracking area group. The options are Open, SemiConfined and Confined.
- Smart edge - Select if smart edges are applied for the tracking area polygon. The feature improves the positioning accuracy calculated by the QPE and prevents tags from jumping over tracking area edges when close to the edge. You can also select to apply smart edges to a certain tag group. Smart edge is applied to all tags by default.
- Smart Edge Snap [m] - The Smart Edge Snap feature is allows you to set a perimeter around the tracking area, so that tags positioned within the perimeter will be pulled back into the tracking area by the QPE. This feature helps the system mitigate challenges caused by radio propagation phenomena (like reflections) that sometimes cause the QPE to momentarily place tags, that are actually in, outside the tracking area.
- Positioning - Select which tag groups will be positioned by the QPE. The default selection is All tags, which means that the system will automatically position any and all tags that enter this tracking area. By selecting a specific tag group, you can exclude the unselected tag groups from being positioned in this tracking area. By disabling positioning, the QPE will only give out proximity or presence information. This might be enough in some use cases (e.g. inventory monitoring) and will significantly reduce the computational load of the system.
- Accuracy threshold [m] - Select the accuracy threshold for the
tracking area group. This feature allows you to edit the level of
positioning accuracy error that will be tolerated and exposed by the
QPE. So, for example, with the default setting of 20 meters, the QPE
will expose positioning data when the positioning accuracy is under 20
meters. While this feature is useful for optimising your deployment, we
recommend caution when using it as tuning the threshold too much may
compromise the amount of available and exposed positioning data for your
project. Tip:Adjust the value to slightly above the desired accuracy so that values on the edge of the threshold are not discarded. For example, if you want to adjust the value to 1 meter, we would recommend that you use an accuracy threshold of about 1.5 meters.
-
Now you can add tracking areas to this group. The settings applied here will be applied to any tracking areas added to the tracking area group. For more information, see the Add New Tracking Area section of this guide.