A hole is an area inside the tracking area that is defined as not part of the
tracking area, similar to the areas outside the tracking area. They are typically only
used for small areas within the tracking area, into which the tags cannot physically
enter, e.g. a column or other physical structure that cannot be entered. It is
important to note that the system will continue to track any tags that enter the
hole, assuming that there is enough coverage. This means that if the hole is not a
physically isolated structure and the tags can enter the space, the system will
place tags at the edge of the tracking area. If you need to implement a solutions
where tags can physically enter a space for which you do not want to report
positioning results, e.g. a lobby or a toilet, please use the Do not report location zone
group feature instead.
To add a hole to your project, follow the steps below.
-
Open the project in the QSP.
-
In the object tree on the left, select the Tracking Area
from the right coordinate system or a specific zone that
you want to add a hole to.
-
In the panel on the right, click the Add hole
button.
-
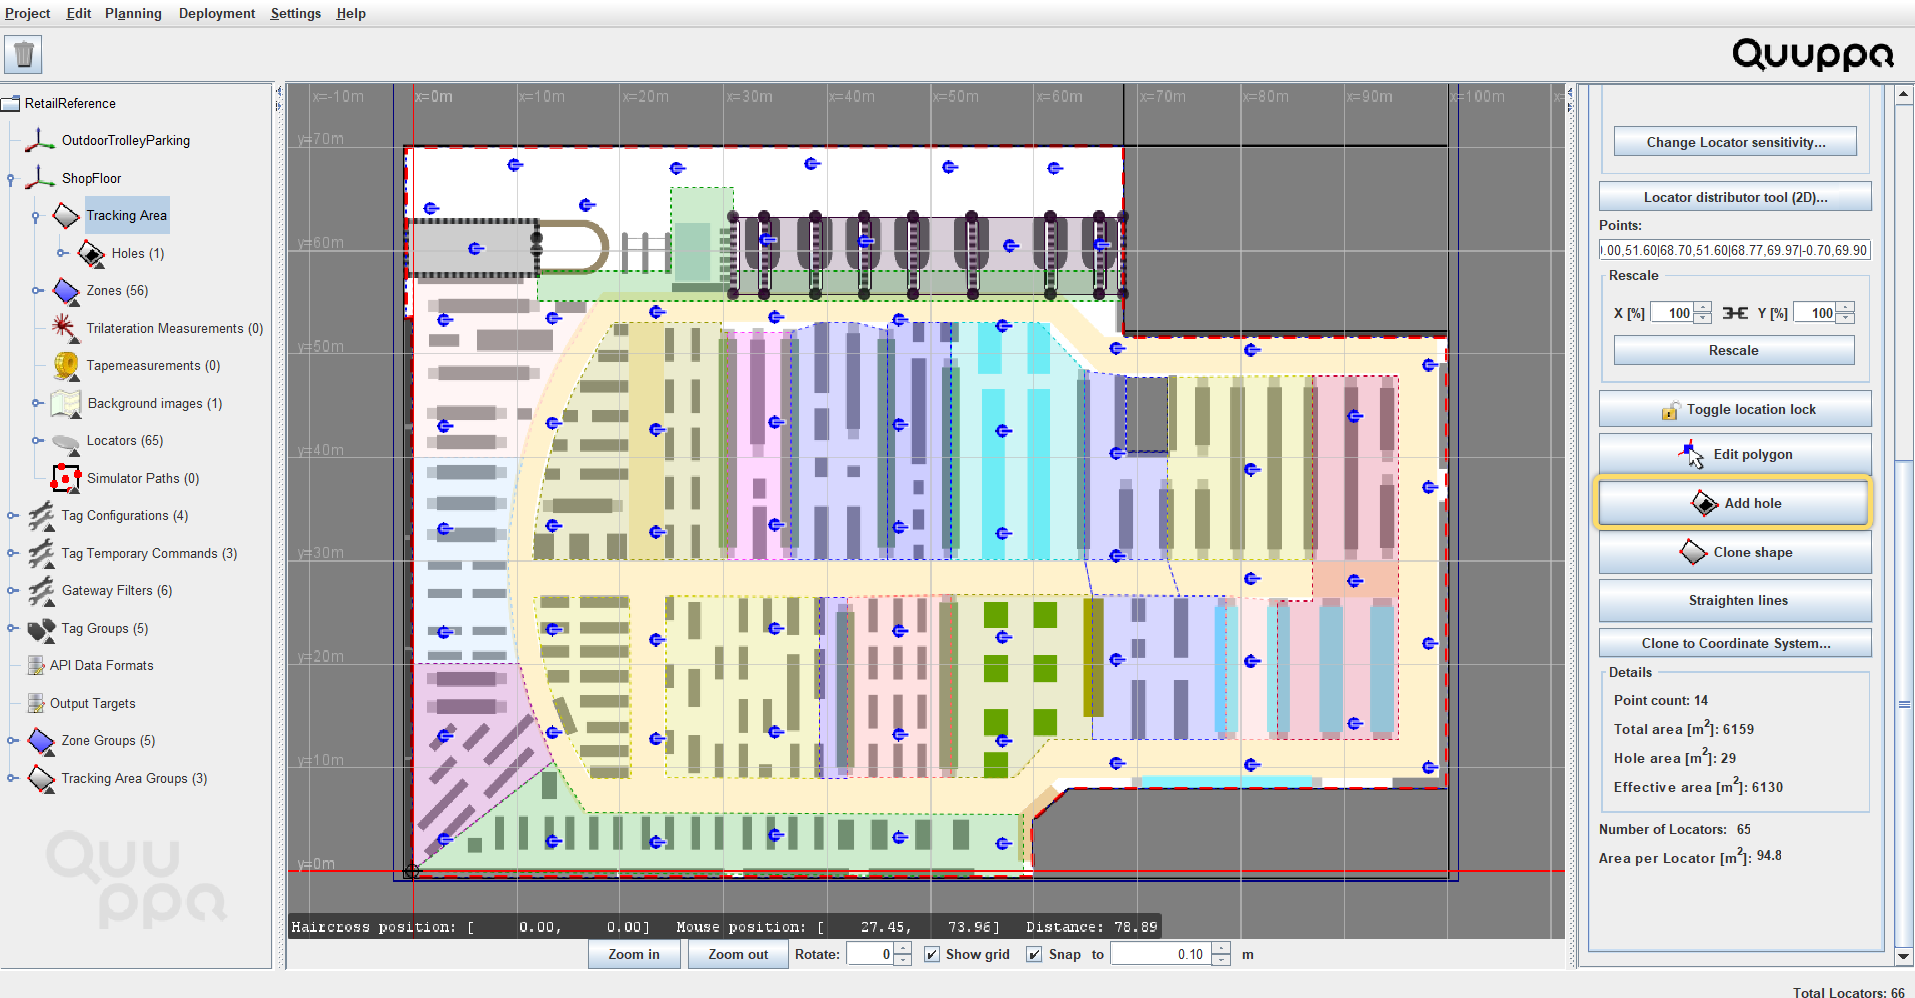
A hole polygon will be added to the map view. To enabling editing, click the
Edit polygon button in the panel on the right.
-
Edit the polygon position and shape as needed by dragging and dropping the
polygon corner markers into the right places. To get guidelines for
perpendicular lines, you can hold down the ctrl +
shift as you edit the polygon.
Tip: To add polygon markers, click on the polygon edge. To
remove polygon markers, right-click in the polygon market that you want
to remove.