Add New Coordinate System
For larger projects, adding multiple coordinate systems may be appropriate. For example, we recommend that you add different coordinate systems for different floors of the same building or to split up very large tracking areas. To add a new coordinate system, please follow the steps below.
Note:
You can use the same background image for multiple coordinate systems.
-
In the menu bar, open the Planning menu and select
Add Coordinate system.
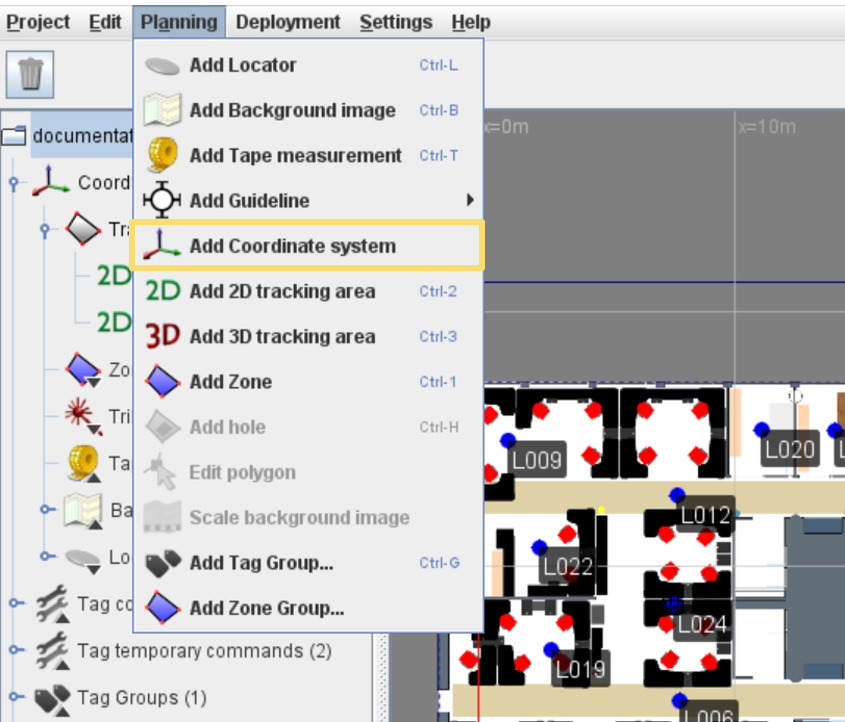 Tip:Alternatively, you can left-click the project file in the object tree and select the Add Coordinate system option.
 -
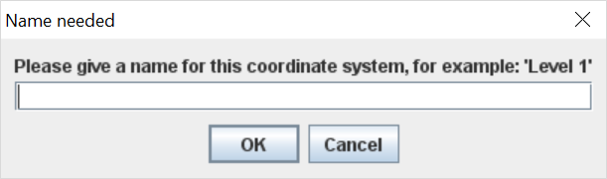
The QSP will prompt you to give the coordinate system a name. Try and give the
coordinate system a descriptive name that will help you identify which
coordinate system is which later.