Scale Background Image
Once you have added a background image to your project file, you will be asked to scale it so that the image matches the project's coordinate system. These instructions will walk you through scaling your background image.
For instructions on adding a background image to your project file, please see the Add Background Image section.
-
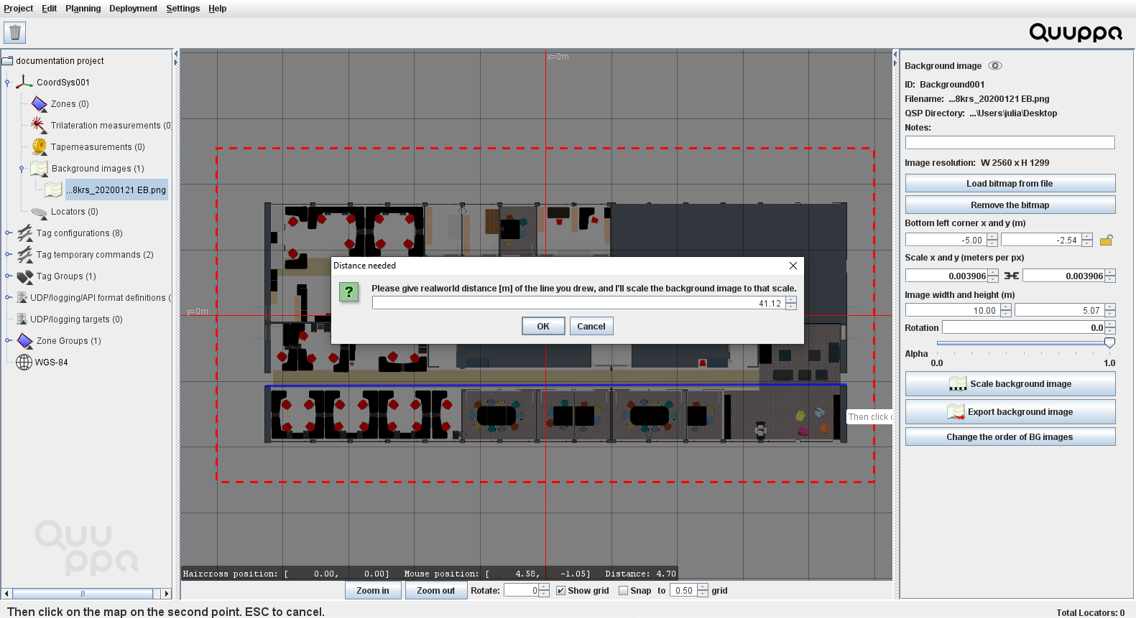
In the window that appears, input the real distance that you measured for the
space in meters and click the OK button.
-
The background will be scaled according to this measurement. At this stage, it
is a good idea to take a few extra scaling measurements to make sure that your
background image is scaled correctly for both X and Y measurements. If you
notice that the background image is scaled correctly vertically but not
horizontally, you can manually adjust the image width and height in the panel on
the right.
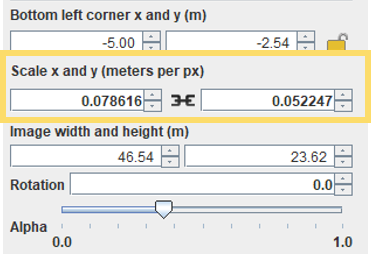
Tip:If needed, you can rescale the image again later by selecting the background image in the object tree on the left and clicking the Scale background image button in the panel on the right. However, please note that this should be done before the Locators are positioned and focused to avoid needing to redo these steps.Note:You can also use the background image settings to adjust the scale. To do so, select the background image in the object tree on the left and adjust the scale in the panel on the right.
By default, the icon in between the values is set to lock the ratio between the values, but you can click it to unlock if you need to adjust just one of the values.